Thriving an eCommerce business has always been more challenging than it is today! Thanks to Shopify. If you are new to ecommerce and willing to open your online store that makes your entry into the booming industry of e-commerce effortlessly, this article is for you. Shopify has made things easy for non-techie merchants who simply want to sell online. Not only for SMEs but Shopify plus is also taking steps towards fruitful results for Enterprise agency solutions! In this blog, we will look at How to build a Shopify store.
Table of Contents
- Worth knowing the process
- How much it costs to build a Shopify Website
- Steps to create Shopify Website
- Create an account on Shopify
- Set up your online Shopify store
- Choose your Shopify website's Design
- Use the brand assets to change the look and feel
- Add products and services
- Inventory Setup
- Setup your Shopify store email
- Set your Payment options
- Shipping
- Testing the Store Setup
- Add Your Domain Name
- Remove Storefront Passwords
- Launch your Shopify store
- Final words
Worth knowing the process
Shopify is dedicated to eCommerce website builders and growing their footprints speedily. It helps merchants and brick-and-mortar store owners to sell their products online with simple execution. Small merchants specifically love this platform for this reason. No matter what kind of business you want to start or how you would like to grow an existing one, you can do it with Shopify. Shopify is helping their customers with easy-steps-to-sell-online, how to start an online business, and such articles that make merchants look for solutions from the providers. Shopify provides ample resources to help its merchants and customers with simple solutions that are easy to explore. Apart from resources and knowledge material, Shopify has a marketplace of Themes and applications that helps merchants use pre-defined solutions to expedite the process. If you know about Website Development and how the process works, it will be easy to set up a Shopify store and start selling. Yet, to put you two steps ahead of the competition, you need Shopify experts that build stellar stores with excellent performance.
How much it costs to build a Shopify Website
As said, Shopify doesn't need in-depth knowledge to get started. You need to know your business thoughts, whether you are looking for your online existence, want to begin Dropshipping, or are selling social and want to sell online with your brand website. Choose the Shopify plan based on your requirement, get sign-in, attempt the trial they offer, and take things to live! As simple as we are saying. What is essential to know before building a Shopify store is how you want to run your business online. There are plans from the simple buy button for beginners to SMEs to giant online stores with enterprise solutions. The costs of a monthly subscription range from $29 to $299 per month, and for Shopify Plus, it starts from $2500 per month. If you are on Shopify and want to move your store to Shopify Plus, this article will help you make decisions. This article is for first-timers who would like to explore the capabilities and feature functionality of Shopify that they natively provide. If you are holding the expectations for deep-feature-rich executions, you must consult a Shopify expert. So, for understanding and learning purposes, let's count the following steps to get live with Shopify!
Steps to create Shopify Website
Don't think if you are not an e-commerce wizard; it will be hard for you to follow and understand the steps. It is easy, and anyone can start selling online with Shopify, from Naive to stay-at-home moms to retirees! Open the new income source with Shopify. So, let's start.
Create an account on Shopify
The very first thing is to create your account in Shopify. The platform is so user-friendly, simple, and clear to follow. Go to Shopify.com and see the "Start a free trial" button in the upper right-hand corner. Enter your details, such as email, password, and the store name you wish to use. The store name will become your primary domain as you click the "Create your store" button. Ensure you save the details, as this will be your login account to enter and manage your Shopify store. For the domain, you can use Shopify services to set it up or use your custom one and transfer the existing site later on to the new domain once you are ready to launch. Following the login and setting up an account, you will be asked a bunch of questions about your store. Answer those questions, and once done, click at the bottom of the page that shows "Enter my store."
Set up your online Shopify store
As you enter your store, you can see a menu on the left that links to all the Shopify store tools and features, like orders, products, and customers. YOu can see a setting button at the bottom left to change the store name, time zone setup, and currency setup, among other setting options. Once done, the fun thing starts.
But first, explore everything to become familiar with the Shopify admin dashboard,understand your options, and learn what you can do with them.
- Home:It provides information about recent activities at your store, daily tasks,and steps to scale your online business.
- Orders:Every order from any sales channel connected to your store; you can see them here. You can even create manual orders to manage everything in line.
- Products:You can have everything you are selling here— goods, services,downloadable products, subscriptions, and more. You can manage and add products to any of your POS from here.
- Customers:Every business's heart is its customers. As soon as an order is placed, the system creates new customers with their names and other details in this customer list. You can manage, review, and edit their information here.
- Analytics:Depending on your chosen plan, Shopify provides reporting and analysis for your business. You can also set up tools like Google Analytics.
- Marketing:With this tab, you can create and manage your marketing activities for promotions and automation. It helps you to convert visitors to your customers.
- Discounts:To attract shoppers, this section will help you create discount codes for specific items in your catalog. You can create multiple discounts for Free Shipping, a percentage discount, and more.
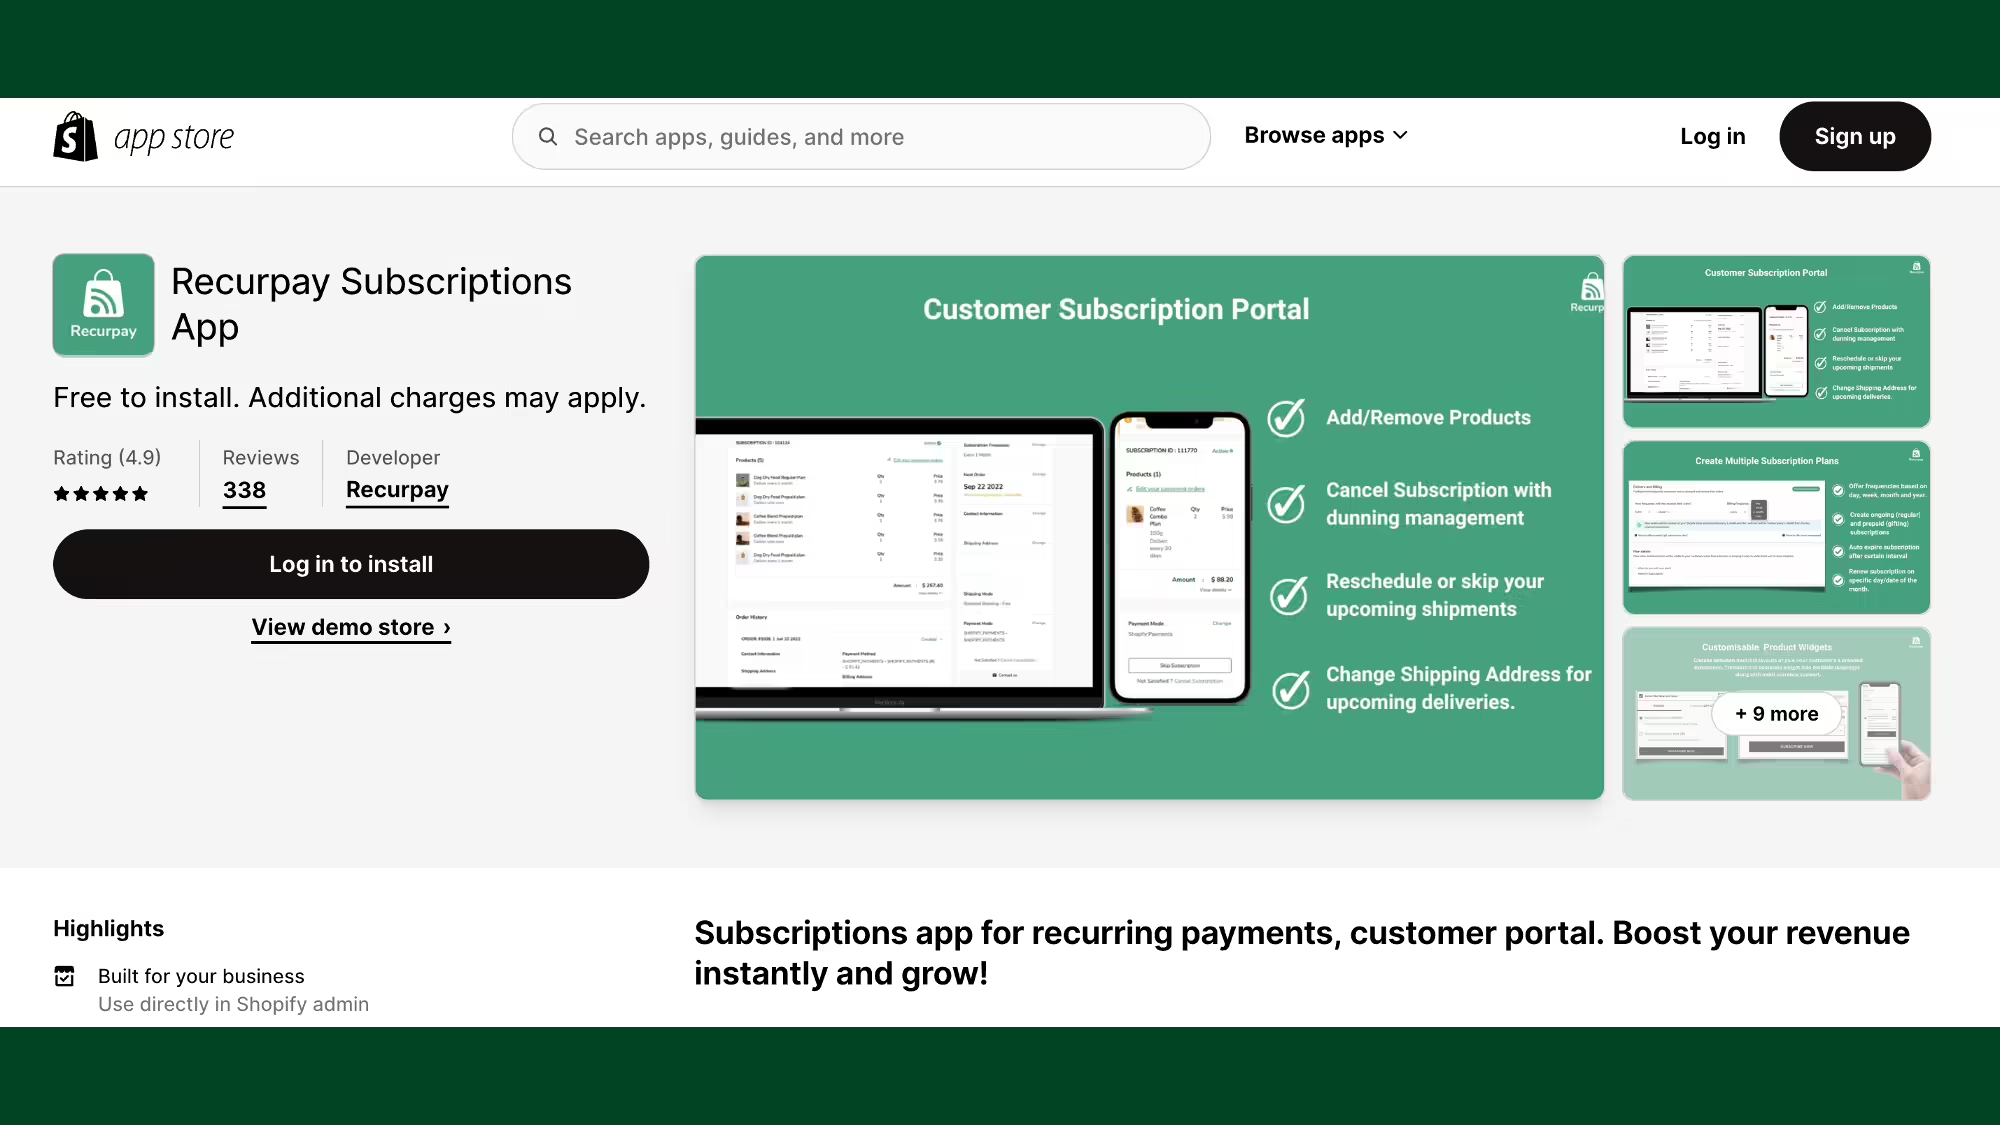
- Apps:It shows the list of applications that your store has configured. There's the Shopify App store for additional functionality your store needs based on the beingness scenarios. You can find the application based on the feature from the Shopify app store and have it installed.
- Sales Channels:This shows all the sales channels where you sell your products. For instance, if you sell on marketplaces like Amazon, Facebook, TikTok, YouTube, or Pinterest or use a buy button, you can add them here. It will be easy to manage everything in one place, and you can manage and analyze your data, such as orders, products, customers, and more.
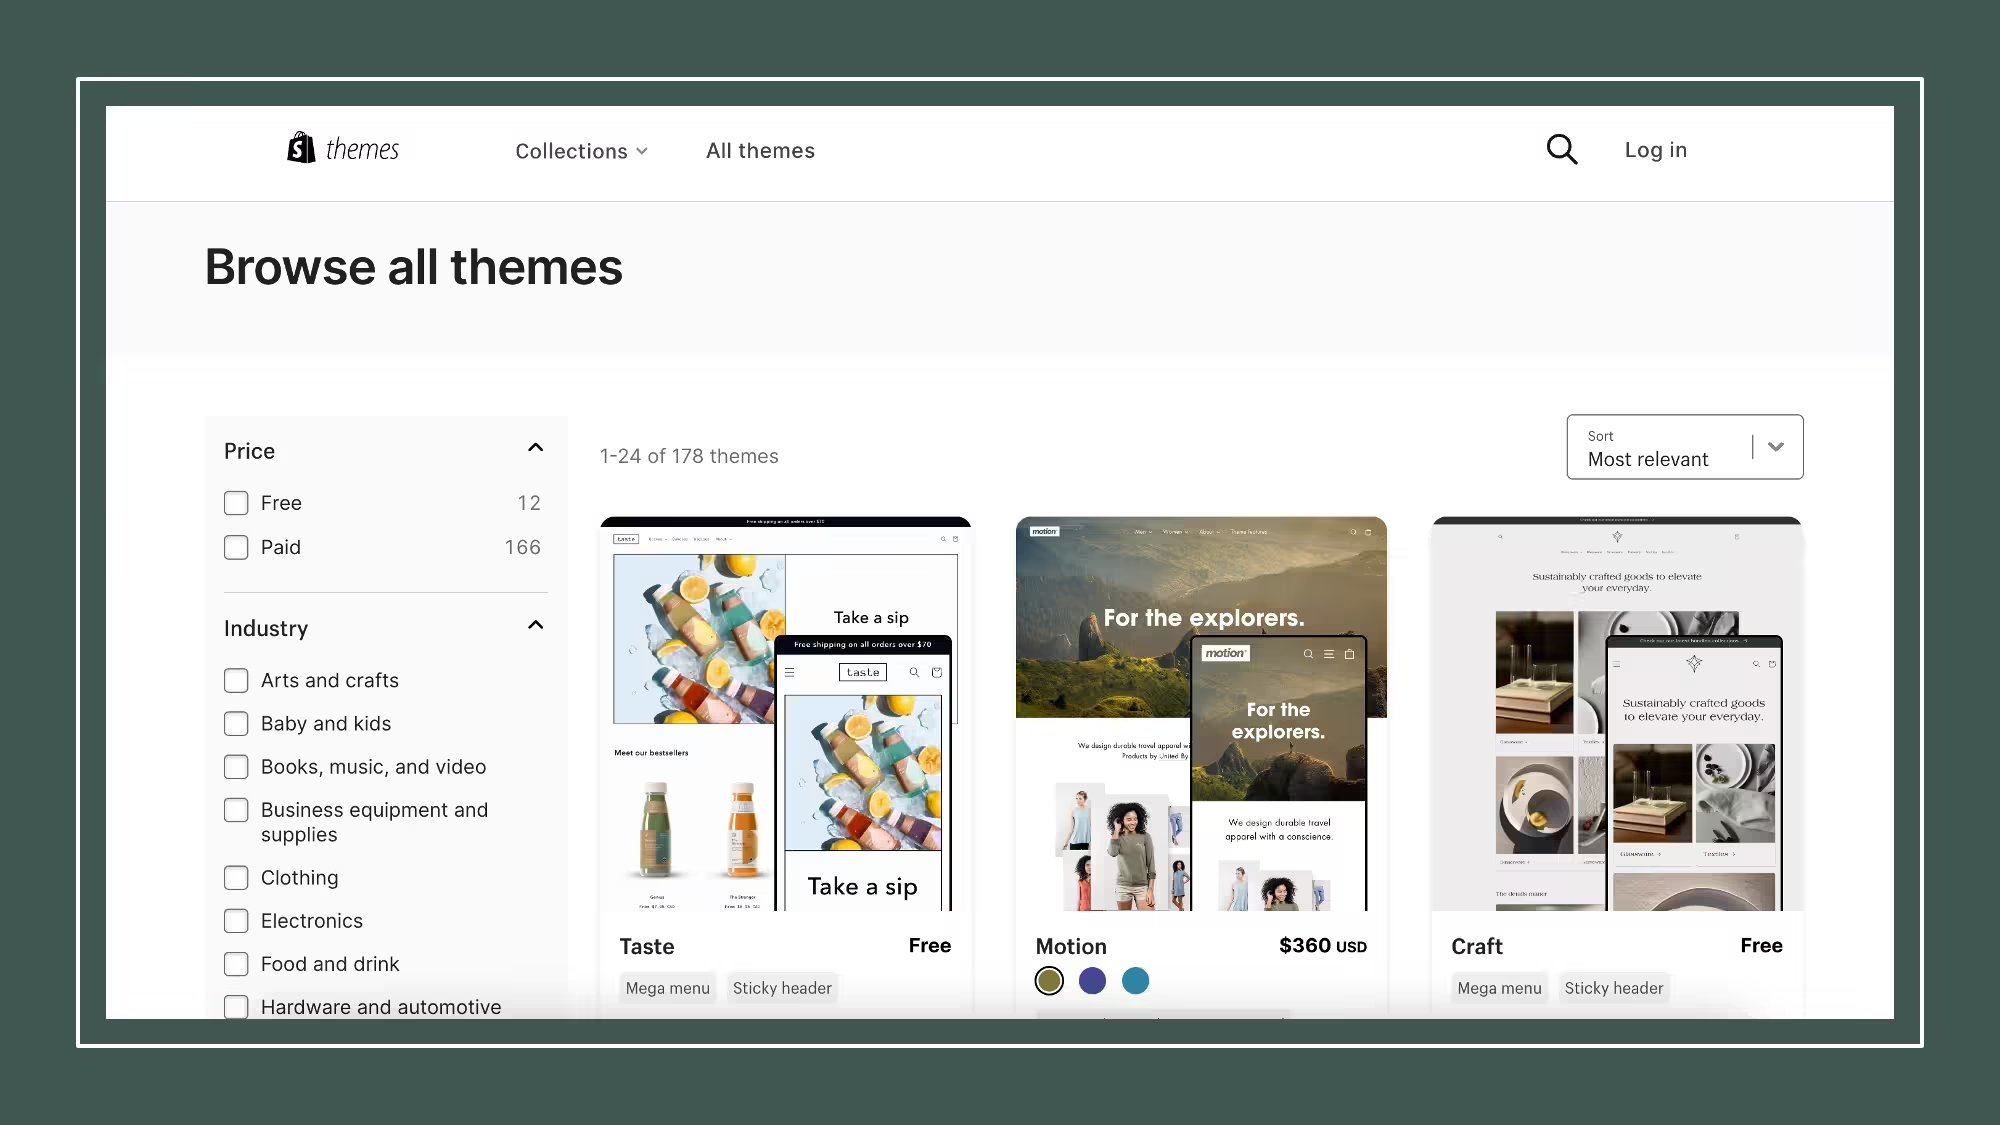
Choose your Shopify website's Design
Shopify provides a default native theme for your store, which you can customize to a certain extent without any coding knowledge. However, if you want to give your store a unique and fresh look, you can add a new theme by clicking on the Online Store link in the left sidebar under the sales channel. You can explore free themes by clicking on "Explore Free Themes" and choose from the official themes available in the Theme Store. Although the free themes can be modified to a certain extent, investing in a premium theme will give you more customization options.
If you wish to make significant changes to your theme, you can edit the HTML and CSS. However, if you want to make complex changes to the design or layout, you will require knowledge of Shopify's coding language, Liquid. If you don't have any coding experience, you can hire Shopify Experts, an international team of design agencies, to customize your site entirely.
To find the right layout and design for your Shopify store:
- Visit the Theme Store and filter themes by category, features, industry, and price.
- Check reviews and functionality to narrow down your options.
- Preview the theme before activating it in your store.
- Install the theme and easily switch to a different one if you change your mind.
That's it!
Upon installation, Shopify will notify you and give you the option to navigate to your theme manager. Once you're there, you'll find both published and unpublished themes. The published theme is the one you most recently installed or activated, while the unpublished theme is the one you had previously installed.
Use the brand assets to change the look and feel
Ensuring that your store stands alone with uniqueness is crucial for the best customer experience. Use your branding assets and update the store theme accordingly. If you are as naive as you think, don't waste valuable time on edits; hire Shopify theme development experts to help you in phase 2. If you are eager to move fast and start selling, count the theme part in phase 2. At Navigate, We always urge our customers to follow the custom theme to have fewer dependencies and optimize the store. To customize the changes, go to the online store tab, hover over the theme you have added, and click on Customize. It will direct you to the theme editor, where you will find the tools to edit fonts, add buttons, media images, and more. On the right side, you can get an idea of how the store will look with your changes. Hover on a section to see the blue boundary and click it to activate the section changes.
Add products and services
Once you are done with the design, it is time to add products to your store for the shoppers. To start, you have to leave the design editor by hitting the exit icon at the top left corner. This will return you to maim Shopify admin dashboard. In the admin dashboard, open the left-side navigation bar and click on the products. It will direct you to the product page, and you will see the "Add your products" button in the middle of the page. Click on the button, and it allows you to add all the details of your products, such as title, description, product type, product, images, and more. This simple process helps you add products quickly, which is why it is a choice for merchants! Once done with the product, repeat it for other products!
Inventory Setup
Inventory refers to the quantity of items available for sale. By tracking inventory, you can avoid selling products that are out of stock and know when to order more. In the admin panel's "Products" section, you can set up inventory tracking, view inventory counts, and see history. You can use a CSV file to import/export inventory, hide out-of-stock products, transfer from suppliers or between locations. Streamline inventory management through the Shopify App Store or standalone software. Check out this article for a free inventory management app.
Setup your Shopify store email
To be in touch with customers about sharing coupons, giveaways, and contests and hold the status of customer requests management, merchants should have a business email dedicated to the store. For communication, emails are the preferred channel among all. For everything related to notifications and all, this is what you need. Shopify plans provide emails; you need to configure a few things. To set it up:
- Go to Shopify Admin and open Settings. You will see the setting dashboard.
- Go down to contact information, and you will see a link saying View email settings.
- Follow the link, and it will open the Sender email options.
- Make sure you enter the mail address you want to show your customers and shoppers with your marketing efforts and campaigns.
Once you've completed these steps, hit the save button. Now is the time to set email notifications for customers. Go back to the settings page and scroll down to Notifications. Here, you can select several email notifications and mail templates for your customers, covering everything from order fulfillment to shipping updates, cancellations, and more.
Set your Payment options
Choosing the right payment gateway for the online website is crucial. Consider transaction fees, accepted card types, and off-site checkout options. Payment gateway fees are added on top of Shopify transaction fees. The USA and UK stores can use Shopify Payments, saving on extra costs. The basic plan charges 2.4% + $0.20 per transaction, the professional plan charges 2.1% + $0.20 per sale, and the unlimited plan charges 1.8% + $0.20 per transaction.
To charge taxes or require shipping for your products, follow these steps:
- Navigate to the products page of your admin panel.
- Click on the name of any product.
- Scroll down to the "variance" section.
- Ensure that the checkboxes next to "taxes" and "shipping" are checked if you need to charge them. However, if you're selling digital goods, you may not need to charge taxes or shipping.
- If you plan to ship physical products, enter their weight in the appropriate field.
- Repeat these steps for all products in your catalog.
The above steps will ensure that your customers are charged the appropriate taxes and shipping fees, if applicable.
Shipping
Shipping is a crucial aspect of an online store. Shopify calculates shipping rates based on your rules. To avoid losing customers, offer enough shipping options. Adjust weight-based rates based on item specs. Also, check other relevant settings and configurations like reports, legal disclosures, and customer strategies in the settings area.
Testing the Store Setup
To test your Shopify store's payment system, use Shopify's Bogus Gateway to simulate successful and failed transactions.
To start, go to "Settings" and "Payments" in your store's admin. Deactivate any credit card gateway you have enabled. Select "Bogus Gateway" from the "Other" section. Use "1" for a successful transaction, "2" for a failed transaction, and "3" for an exception. To test a real payment gateway, enable it, make a purchase, and cancel it to avoid transaction fees. Refund yourself and check the payment gateway to ensure the funds went through. If fees appear, cancel the order after paying the bill to receive a refund as transaction credit.
Add Your Domain Name
You need a domain name to make your website live. Shopify will handle the setup automatically if you buy a domain from them; expect to spend $9 to $14. Alternatively, you can buy a domain from GoDaddy or other relevant alternative starting at around $10 per year.
Remove Storefront Passwords
It is imperative that you configure your website before launch. Otherwise, nobody will be able to access it even after it's live. Take action now to ensure the smooth functioning of your website.
Launch your Shopify store
Congratulations! You have reached the end of the process, and it's now time to start earning a return on investment (ROI). Shopify is here to help you get started in the right direction. Merchants can easily set up an initial campaign by accessing the Marketing tab in the admin dashboard. This feature allows you to create Google and Facebook ads and track their performance. Creating a campaign from the Marketing tab allows you to set up various marketing strategies, including SMS campaigns. It also enables you to delete, edit, and pause campaigns and archive them. With Shopify, you can take your marketing efforts to the next level and achieve great success!
Final words
Did this guide help you? If you are looking for an easy and quick way to set up your online store, Shopify is a great option. However, if you need help with a custom Shopify store, find your Shopify expert. Thoroughly explore all the features Shopify offers and choose the right Shopify plan for your online sales needs. And if you need help deciding between Shopify and Shopify Plus, we have a helpful article to guide you.