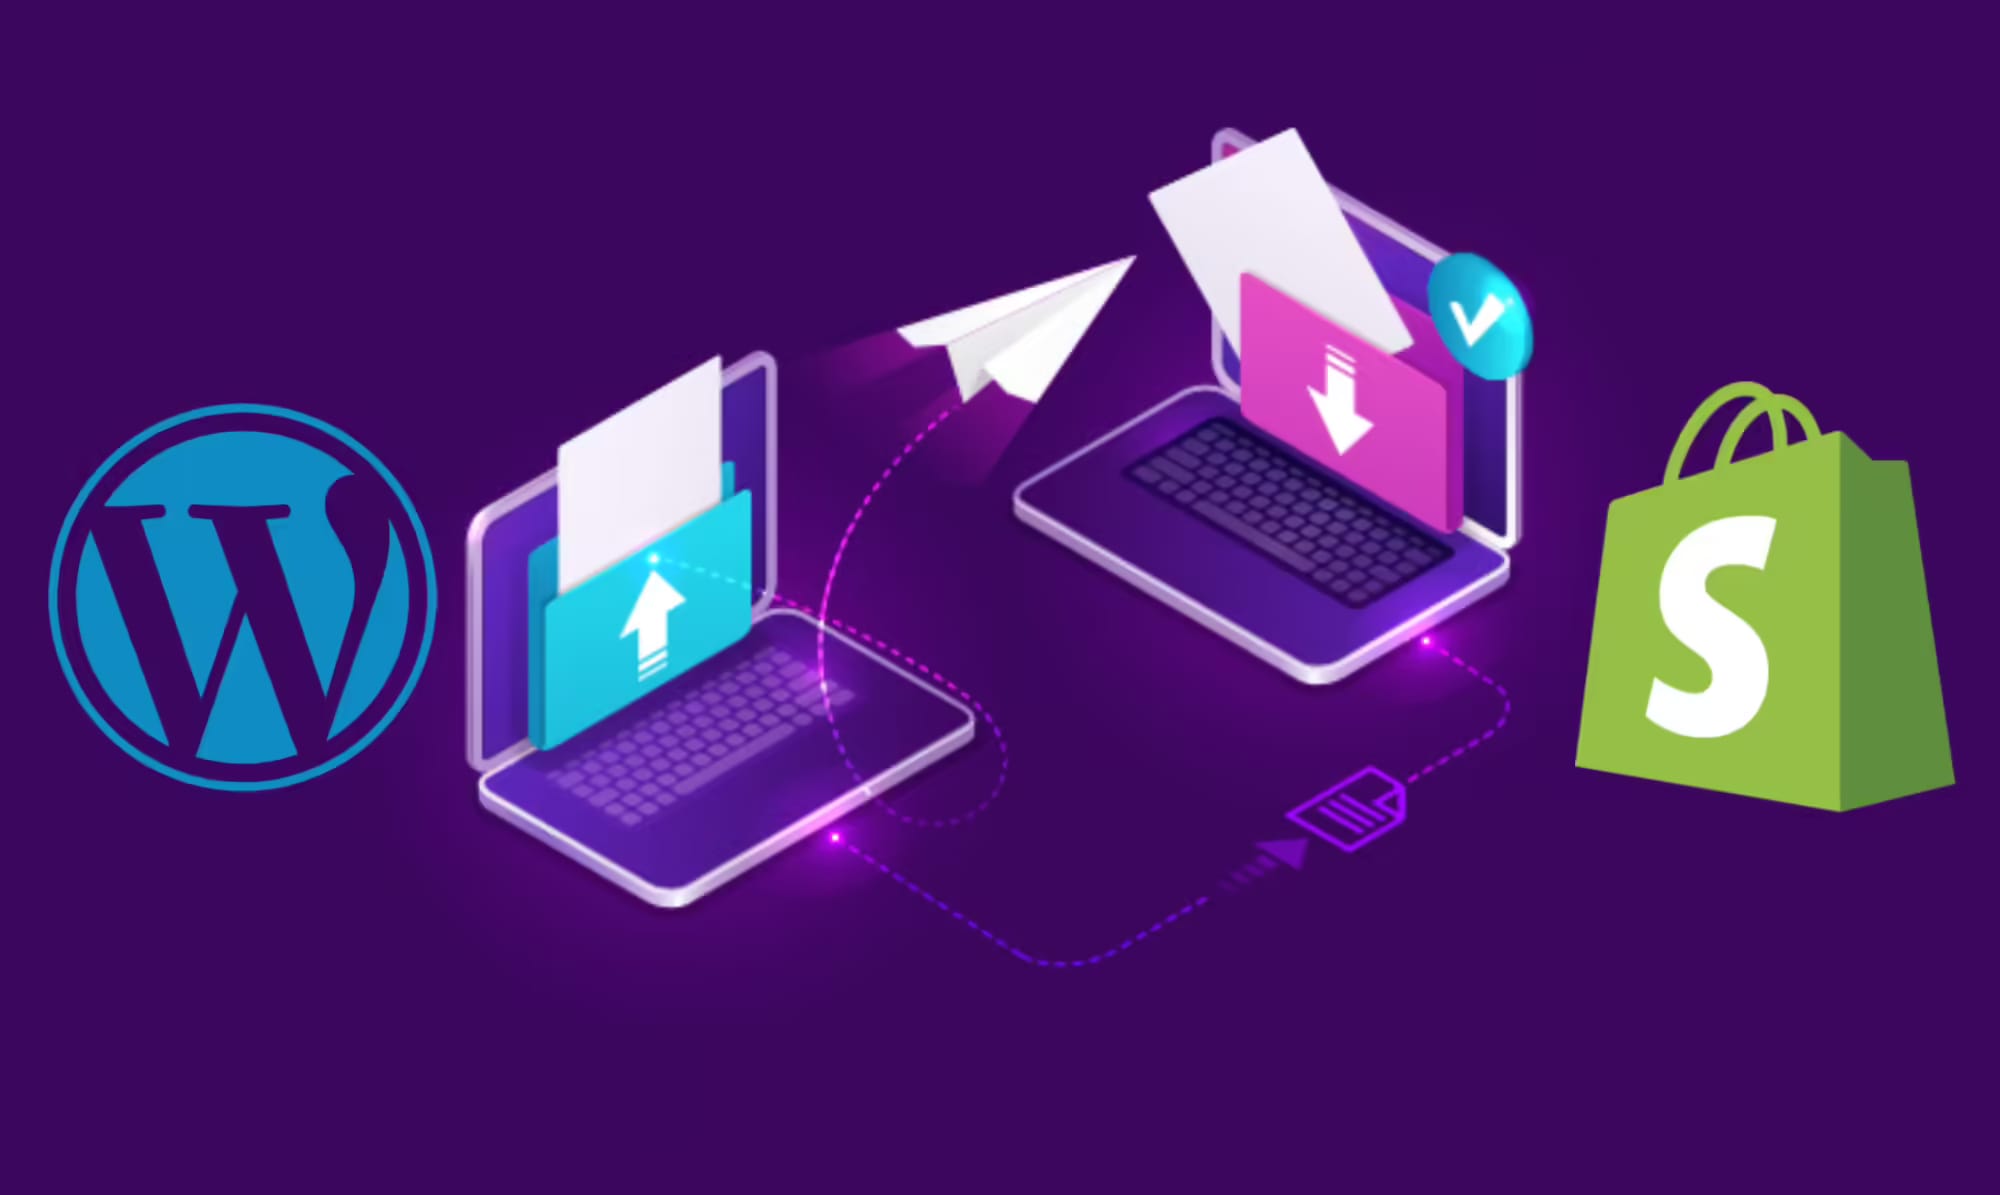
It's an unbeatable truth that WordPress is a leading solution for having a Website, and it is still ruling the world with its excellent CMS functionality. To gain similar trust from the brands, they have introduced WooCommerce to extend their e-commerce solution. It's more like a WooCommerce plugin to create a WordPress-based e-commerce website. It works well for many, yet they must migrate their website to another prominent platform for scalability and a better e-commerce experience. There are giants like Magento and Shopify available to scale your business, and in this article, we cover everything about WordPress to Shopify migration.
Table of Contents
Introduction
WordPress is a universal website builder, whereas Shopify is an e-commerce platform with its ecosystem that helps create superior shopping experiences. Many store owners are looking for a comprehensive e-commerce platform that is easy to use and has all the necessary e-commerce functionalities. At first, thinking about migrating from WordPress to Shopify seems daunting, but this narrative migration guide helps simplify the process.
Is it possible to migrate from WordPress to Shopify?
Of course, it is possible. Both platforms are website builders; only Shopify is dedicated to creating online stores. The architecture and development process defers from platform to platform. Multiple data sets just can't be moved similarly. Data like orders, customers, CMS pages, Products, and information from WordPress to Shopify can be moved like below:
- Products:CSV Files, API, Migration App
- Order History:CSV Files, API, Migration App
- Customer Information:API, Migration App
- Gift Cards:API, Migration App
- Blog Posts:API, Migration App
- Pages:API, Migration App
Successful Shopify migration needs care and proper planning. We'll help you understand the migration using migration apps, with CSVs or by Ctrl + C & Ctrl + V! Now it's time to understand the migration process. Let's learn.
How to migrate from WordPress to Shopify
Before starting your Shopify migration, a prerequisite is to set up a Shopify store account. Ensure your initial setup is done with a store address and an email. Now, below is the step-by-step process for WordPress to Shopify migration explained!
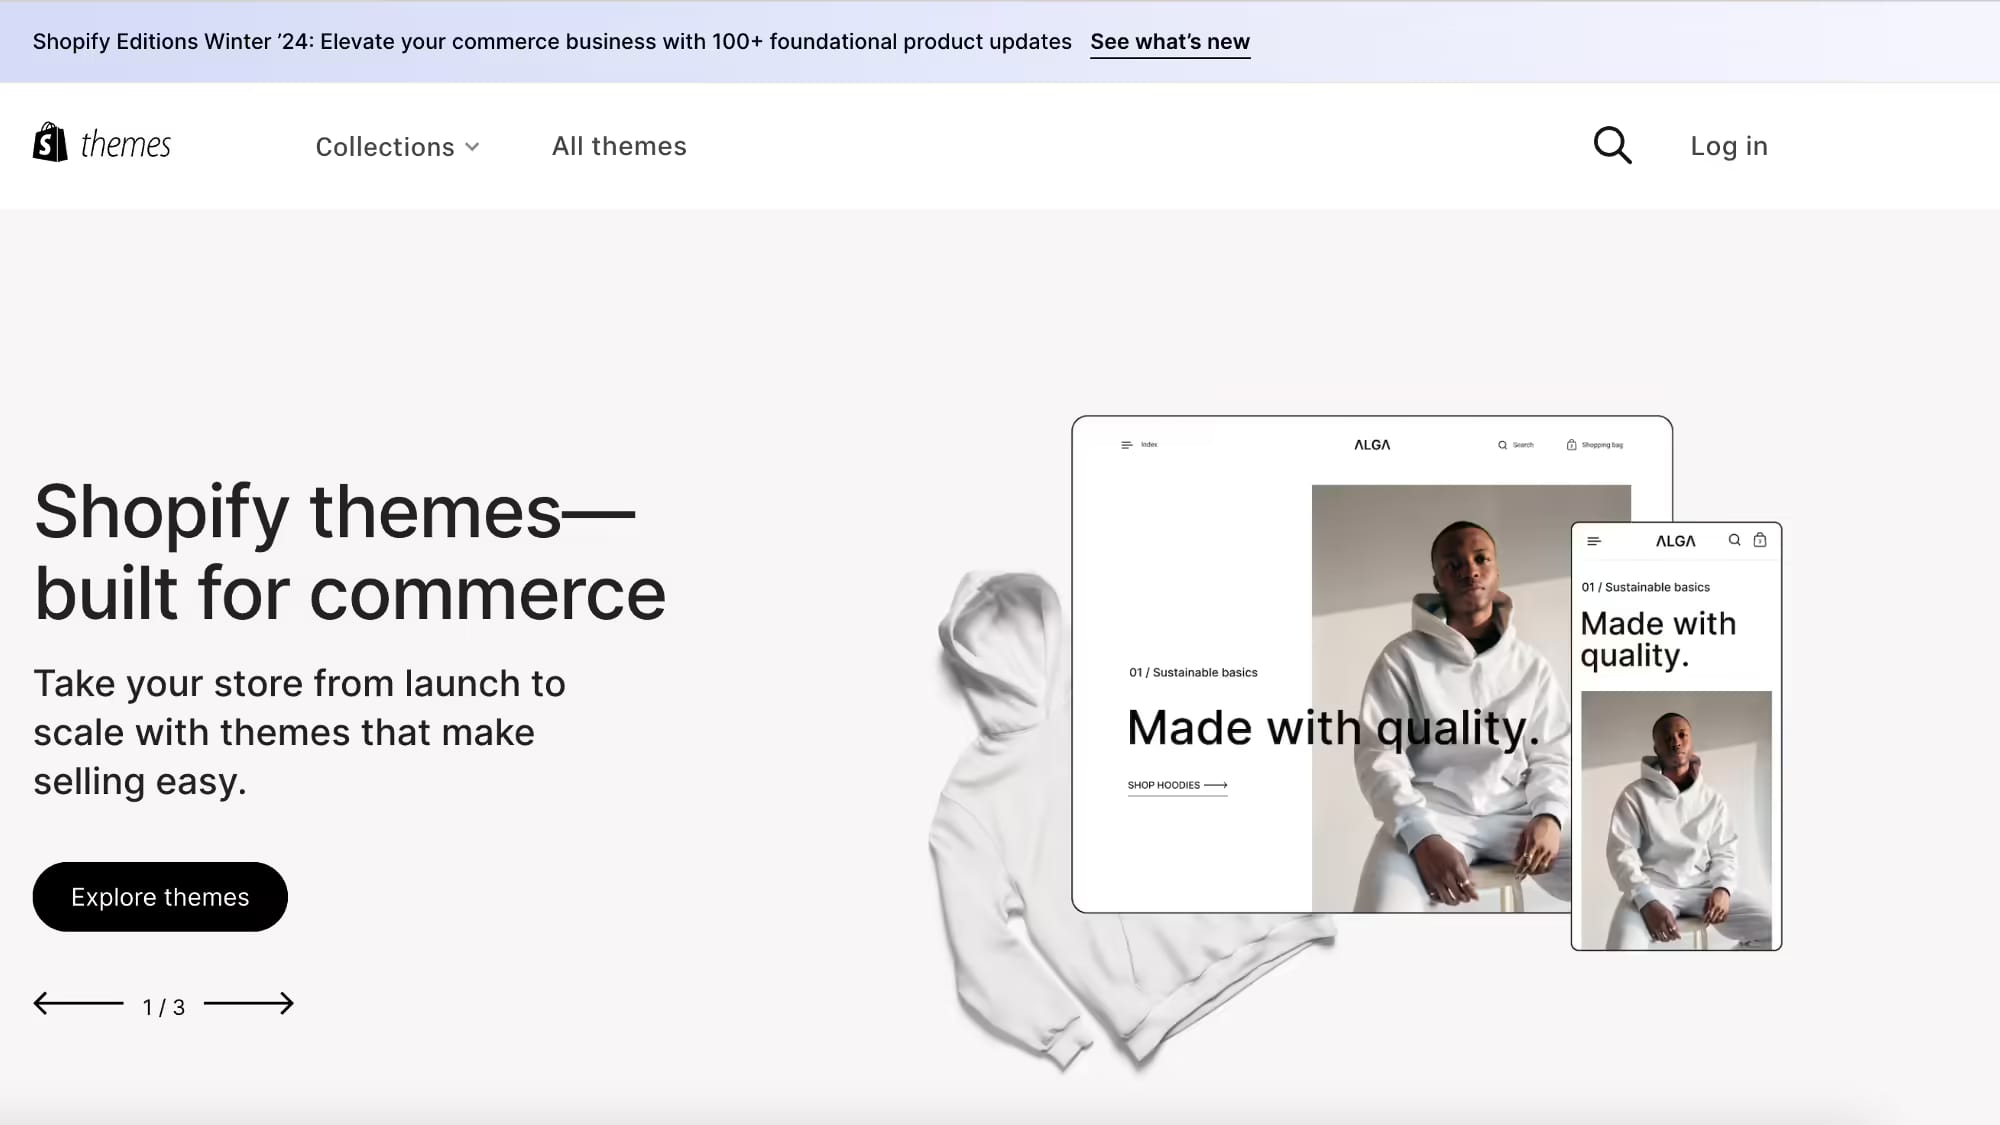
Step 1: Choose a Shopify theme
Themes cannot be migrated from WordPress to Shopify. However, many free and paid themes are available on the Shopify marketplace, and you can choose one and implement your branding style to replicate the look of your WordPress website. Alternatively, you can create a custom theme for your Shopify store that helps with optimization by following the Figma layouts. For instance:
To utilize and download a free theme from Shopify:
- Navigate to your Shopify Merchant Dashboard. On the left side of the panel, find "Online Stores" and click on it.
- In the Free themes, click "Explore" at the bottom of the page.
- Click the theme that is most similar to your existing website, or if you are revamping the website, choose one that catches your eye and preview the theme styles.
- After selecting the theme, click on the "Add" button. This theme will be added to the theme library for further customization.
To buy and install a Paid theme:
- Navigate to the Shopify theme store and select the theme of your choice.
- Click on "Buy Theme" to purchase the theme. The bonus you'll have here is trying the theme before purchasing. And for that, click on the "Preview" option.
- If you like the preview and want to choose the same theme, close the preview and buy that theme.
- Now, you can customize it as per your needs.
Merchants with basic web design knowledge can amend the theme per their branding. Still, for unique custom themes, we recommend hiring a Shopify developer to create a custom-themed Shopify store.
Step 2: Migrate WordPress data to Shopify
The most sensitive part of the migration process is transferring data from one website to another. If you make a mistake, you will lose valuable information for the new website. Therefore, it is important to take time to plan it properly with your Shopify agency.
For simplifying it, decide what data you want to transfer to your Shopify account, create a list and use it to decide the best method to migrate the data to Shopify. Even the order of data being migrated to Shopify is also essential! So be sure to follow the order below:
- Products
- Customer Information
- Order History.
For store content and data migration, there are three methods.
1. By using a Shopify migration app
Using a Shopify migration app is the easiest and fastest way to migrate data. This application will use APTs to transfer your WooCommerce data to Shopify, all in one shot. Having a migration app to transfer that data is the best way to move blog posts to the Shopify store.
Many migration applications are available (Free and paid) on the Shopify App Store, such as CedCommerce Importer, Matrixify, and Litetensions. The only thing you need to do is choose a source, a target, and your URL. Then, select the data you want to migrate and start the process!
2. Manually migrate data using CSV files.
WordPress has reach plugin libraries; using one, you can export the data in a CSV format. Once you have the CSV files exported, now is the time to import them to your Shopify store by following the steps:
- From your Merchant Dashboard, Click on "Products."
- Search and click on the "Import" button.
- Add a file that you have exported from WordPress.
- Click on Upload and Continue.
- Make sure to preview the product details and then have the Import.

3. Copy and paste your content
Copy & Paste helps well when you have content like Blog Posts, Product descriptions, and other CMS pages. It is the simplest method for data migration but valuable for a very small Shopify store with less content, and it only has a little data to migrate.
Which method is the best for data migration?
It purely depends on how much data needs to be migrated and what merchants want to import into their Shopify store. If you have hundreds and thousands of products with relatively more blogs, a migration app would work better than trying to do it manually! These migration applications make migration from other platforms to Shopify friction- free! On the flip side, CVS can handle the data and is only able to export & import products and customer information. While choosing any of these data migration steps, make sure to have backups to avoid any losses!
Step 3: Post-migration product organization
It's common to make mistakes when moving from WordPress to Shopify that can quickly be noticed. That's why it's important to thoroughly check your products after migrating data. Look at your product details, such as descriptions, meta titles, images, and variants. To keep track of your store's inventory, or you can have a product inventory app from Shopify marketplace.
Step 4: Set your shipping calculation
One of all the wins over WordPress is the automated commerce processes in Shopify! With few tweaks and correct information filled, Shopify can handle and calculate all the Shipping and taxes.
So, adding adequate information following steps is important to avoid overcharging.
- Navigate to "Setting" on your dashboard and find the Shipping and Delivery Section to click on.
- Add your current shipping address to ensure accurate Shipping Rates.
- For longer distances, enable Shipping for different regions, and for cross-border, check international.
- Set the shipping rates for the zones you have specified. If you use a carrier that follows package dimensions, configure shipping dimensions for precise shipping rates.
Step 5: Set up your taxes
While WordPress is made for everyone, the option to charge sales tax may not be available or may require manual calculation. On the other hand, with Shopify, the process is automated! Remember to fill in all the details for legal taxing procedures! It will be done while filling in the information for Shipping and Delivery.
You can do a tax override for products with tax exemptions, such as digital products!
- Click on "Products" from your dashboard.
- Navigate and click on the Pricing.
- Find the product you want to override, uncheck Charge Tax on this product!
- Once finished, Click Save.
Step 6: Set up payment providers
To get the payments on your Shopify store after migration, you need to set up the payments. To choose the payment providers:
- Go to "Settings" and then "Payments" from the admin dashboard.
- Complete the account setup in the Payments section if you do not have a credit card payment provider.
Click "Activate Shopify payments" in the Shopify Payments and dialogue boxes to activate Shopify payments with your credit card provider.
- Fill the bank details as required and Save the information.
Now, let's set up the Store's checkout!
- Add the store policy. As discussed, Copying and pasting is the better option for adding policies to your Shopify store. Navigate to Settings and click on Policies. Paste your policy, make changes if necessary, and click Save.
- You can edit customer checkout information under Settings. Follow the Checkout option and click on it. You can configure the checkout experience and what data must be collected before customers can purchase. Click Save once done.
Step 7: Test orders
Once all the data has been migrated from WordPress to Shopify, all the settings are done and manual changes been made, it is a time for QA and run test cases!
Doing this will allow you to double-check that everything works seamlessly. If an error occurs, find and fix it before the final Launch! To run the test orders, below are the steps:
- Go to Settings, and click on the Payments option.
- Deactivate the credit card provider. A popup will appear for the confirmation on same.
- Now, go to Shopify Payments, go to Manage, and Click on Switch to a third-party provider. Confirm the same.
- Click on See All the Providers option
- From the dropdown, choose Bogus Gateway (for testing)
- Click on Activate and Save.
- Now, go to your store and place an order like a shopper visiting your store and add the details as follows:
- Name on card: Bogus Gateway
- Credit Card Number: enter 1 for a successful transaction, 2 for a failed transaction, and 3 for an exception to generate an error message.
- CVV: 111
- Expiry date: any future date.
This process of placing and testing an order helps you iterate the entire purchase journey, and you will be able to find the issues with your store, if any! Once the test order is done, return to the settings and deactivate the payment gateway!
- Click Manage for (for testing) Bogus Gateway.
- Click on Deactivate to remove it from the checkout.
Conclusion
By following these comprehensive processes for data migration and setting up your Shopify store, the only thing that is left is to make the store live! If you have a Shopify expert to help you with WordPress to Shopify migration, the only step is transferring ownership from the Shopify partner to your account. Shopify has made creating and launching an online website almost effortless. With this detailed guide on how to migrate from WordPress to Shopify, your store will be up and functioning smoothly!